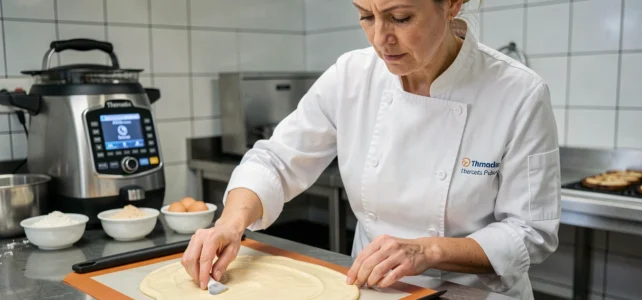
When you take a joconde biscuit out of the oven and it sticks to the tray, cracks, or remains compact like a shortbread, the problem rarely lies with the recipe itself. It’s almost always a matter of technique, the temperature of the eggs, or a poorly sequenced action in the Thermomix. Understanding these technical points makes a bigger difference than accumulating variations in proportions.
Whipping Eggs in the Thermomix: The Technique that Changes the Texture of the Joconde Biscuit
In professional pastry, the volume of a joconde biscuit relies on whipping, meaning the amount of air trapped in the batter before baking. With a stand mixer, you can visually control the mass that triples. In the Thermomix, you work blindly under the lid, and that’s where mistakes begin.
An effective approach is to heat the eggs and sugar together to 37 °C before whipping without heat. Specifically, you set it for a few minutes at this temperature on moderate speed, then continue whisking without heat to allow the mass to rise. This method, used for genoise in TM5 and TM6, directly translates to the joconde biscuit and produces a more consistent batter than a classic two-step method.
You can thus prepare a joconde biscuit in the Thermomix with a soft and airy result, provided you follow this sequence of warming then cold whipping.
A common pitfall: starting directly on high speed at room temperature. Cold eggs whip less. You end up with a dense batter, and the almond flour further accentuates the heaviness instead of lightening it.
Spatula Required After the Thermomix: Why the Bowl Alone Isn’t Enough
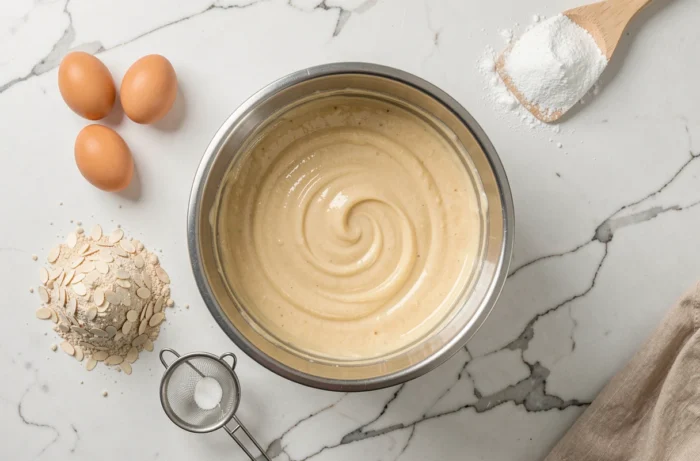
You might think the Thermomix homogenizes enough to skip a manual action. In practice, the flour and almond flour settle at the bottom of the bowl, under the blades of the knife, in an area that the whisk does not fully mix.
Feedback on this point varies by model, but the clear trend in 2026 is to view the Thermomix as a tool for whipping and homogenizing, not as a finisher. You transfer the batter to a mixing bowl, scrape the bottom of the bowl with a spatula, and incorporate the residual powder with the spatula using folding motions.
This action takes about thirty seconds. It prevents two recurring defects:
- Raw flour pockets that create white and compact areas in the baked biscuit
- A biscuit bottom denser than the surface, with an irregular texture when cut
- A loss of volume if you restart the Thermomix to compensate (the knife deflates the whipped mass)
Restarting the Thermomix to correct an incomplete mixture is the worst option. Every additional second of rotation breaks the air bubbles. The spatula remains the only suitable tool for this final step.
Baking the Joconde Biscuit: Tray Thickness and Oven Management
The spreading on the tray directly affects the baking. A joconde biscuit is baked thin, spread evenly on a silicone mat or parchment paper. If the thickness varies by a few millimeters between the center and the edges, the edges dry out while the center remains moist.
For a homogeneous result, spread with a offset spatula in one single pass, without going back. Returning to an already smoothed area creates thick spots and compresses the batter locally.
The oven should be preheated to static heat. Convection heat dries the surface too quickly and forms a crust that prevents the biscuit from remaining soft for assembling an opera or a dessert. Watch for coloring: the biscuit is ready when it takes on a light golden hue and the center springs back under finger pressure.
Unmolding Hot, Not Cold
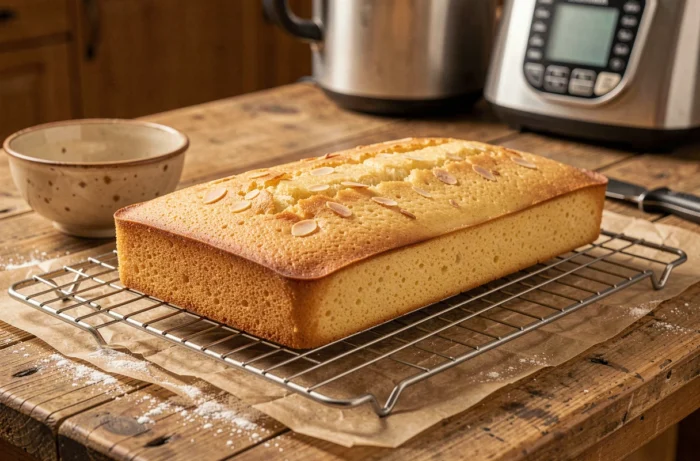
Unmold immediately after removing from the oven by flipping the biscuit onto a rack. Waiting for it to cool on the tray guarantees that it will stick. A joconde biscuit always releases when hot, as the residual steam still creates a barrier between the batter and the surface.
If using a silicone mat, gently peel it off by pulling flat, not by lifting. An angle that is too vertical tears the biscuit through its thickness.
Adapting the Joconde Biscuit for Assembly: Opera, Desserts, and Strawberry Cakes
A joconde biscuit is not cut the same way depending on its destination. For an opera, you need clean and regular rectangles. For a round dessert, cut with a circle. For a strawberry cake, you want enough flexibility to fit the mold without breaking.
- For the opera: lightly soak with coffee syrup before stacking layers of buttercream and chocolate ganache, which prevents a dry biscuit in the mouth
- For the dessert: cut the biscuit a few millimeters smaller than the circle to leave room for the peripheral cream
- For the strawberry cake: prefer a biscuit slightly thicker than normal, as it absorbs more juice from the strawberries and the mousseline cream
Soaking with syrup (sugar, water, flavor of choice) is done with a brush, not by dipping. You dose layer by layer. An overly soaked biscuit loses its structure and collapses under the weight of the filling.
Storing the Joconde Biscuit Before Assembly
If you are not assembling the dessert immediately, wrap the biscuit in contact as soon as it has cooled, then refrigerate it. It will keep for a day without losing its softness. Freezing the wrapped joconde biscuit also works for preparing a dessert in advance: take it out a few hours before assembly, and it will regain its texture.
The key point to remember is the consistency of the action. A well-used Thermomix provides a constant whipping from one batch to another, which a manual whisk does not guarantee. But this consistency does not eliminate the need for spatula work, careful spreading, or quick unmolding. These details separate a correct biscuit from a pastry chef’s biscuit.