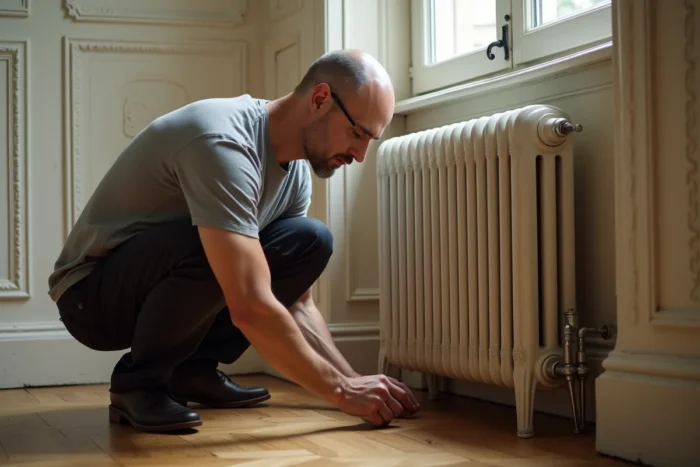
A cast iron radiator is heavy, sometimes weighing over a hundred kilos once filled with water. Installing a foot for a cast iron radiator without drilling into the wall becomes necessary when the partition is fragile, made of old plaster or hollow brick. The choice of foot, its compatibility with the radiator, and the method of leveling on the floor determine the overall stability in the long term.
Operating weight and safety coefficient: the data that guide the choice of foot
The first step is to estimate the total weight of the radiator in operation, which is the cast iron plus the water contained in the columns. A large radiator when filled easily exceeds a hundred kilos. Recent technical publications recommend applying a safety coefficient of about 1.5 on this total weight to properly size the feet.
This coefficient absorbs dynamic stresses: an accidental shock, a shifting floor, or simply repeated thermal expansion over the seasons. Without this margin, a foot calibrated just to the nominal weight risks gradually deforming, especially in the absence of any wall fixation.
You will also find useful information on La Petite Maison dans la Prairie to delve deeper into load calculations and common scenarios.
| Criterion | Installation with wall fixation | Installation on feet only (without drilling) |
|---|---|---|
| Weight distribution | Distributed between wall brackets and feet | Entirely supported by the feet |
| Risk of tipping | Low (wall = anchor point) | Moderate to high if feet are poorly sized |
| Recommended safety coefficient | Standard (x1) | x1.5 on the operating weight |
| Floor stress | Less critical | Flat and sturdy floor required |
| Foot/column compatibility | Tolerant | Strict (centered support imperative) |
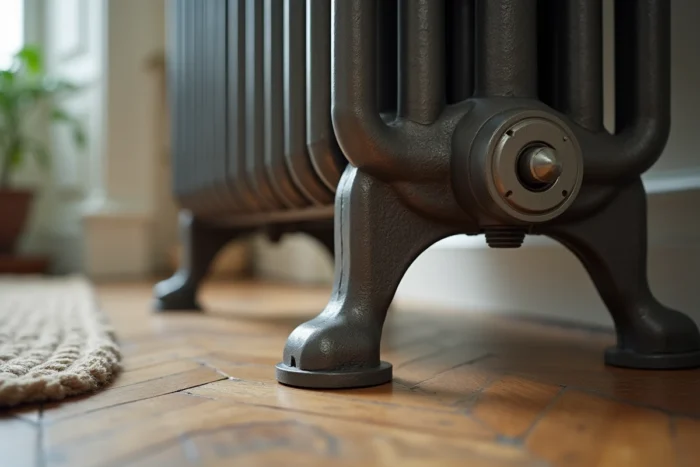
Foot compatibility and number of columns of the cast iron radiator
In a drilling-free installation, the foot solely supports the entire load. An off-center support, even by a few millimeters, generates a tipping moment that increases with weight. Specialized guides emphasize the exact correspondence between the foot and the number of columns of the radiator (3, 4, or 6 columns) as well as the depth of the device.
A foot designed for a 4-column radiator placed under a 6-column model does not cover the entire depth of the base. The center of gravity shifts backward, causing the radiator to tend to pivot towards the wall. Conversely, a foot that is too wide under a narrow radiator leaves unnecessary material protruding without improving stability.
Check the technical sheet before purchase
Each foot reference indicates a compatibility range: spacing height, support width, and depth. Cross-referencing these three measurements with those of your radiator avoids returns and risky DIY adjustments. Take the measurements directly from the radiator, not from a generic product sheet found online.
Installation without drilling: step-by-step leveling method
The floor fixation without drilling relies on the radiator’s own weight and methodical leveling. The goal is to achieve a perfectly flat and stable support across the entire surface of the feet.
- Position the drained radiator in its final location, with feet mounted but not fully tightened. Check the horizontal level with a bubble level placed on top of the radiator, first along the length and then the depth.
- Correct any unevenness in the floor with metal or hard rubber shims slipped under each foot. Wooden shims should be avoided: they compress and deform over time under a permanent load.
- Tighten the feet gradually and alternately (left foot, right foot) to maintain plumb. Unilateral tightening shifts the radiator by several millimeters, enough to skew the level.
- Check the horizontal level one last time after complete tightening, then fill the circuit. The weight of the water slightly alters the footing: a final shim adjustment may be necessary at this stage.
Non-slip pads and floor protection
On smooth tiles or varnished parquet, non-slip pads under each foot prevent any lateral slipping. Some feet directly incorporate a rubber sole. For others, a high-density adhesive pad serves the same function. On a soft floor (vinyl, linoleum), a metal distribution plate prevents the feet from puncturing the covering due to concentrated load.
Post-commissioning check and signs of concern to monitor
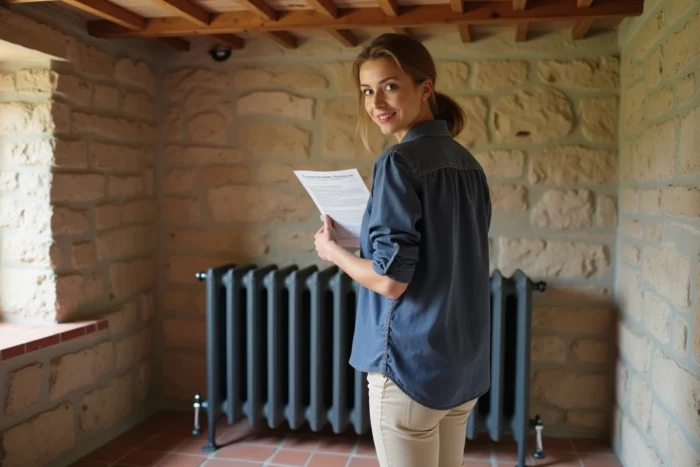
The first weeks after filling with water are the most revealing. The temperature rise causes expansions that can alter the footing. A level check after two or three heating cycles allows for the detection of settling before it worsens.
Warning signals are concrete: a radiator that touches the wall at the top but not at the bottom tips backward, indicating a rear foot that is too short or a crushed shim. A clicking noise when the heating starts reveals play between the foot and the base of the radiator. Re-tightening the foot/radiator fixings at least once per heating season remains a simple and effective precaution.
A cast iron radiator correctly installed on suitable feet, without any wall fixation, can operate for decades without issue. The condition hinges on three points: a foot compatible with the number of columns, verified leveling after filling, and periodic checks every autumn.